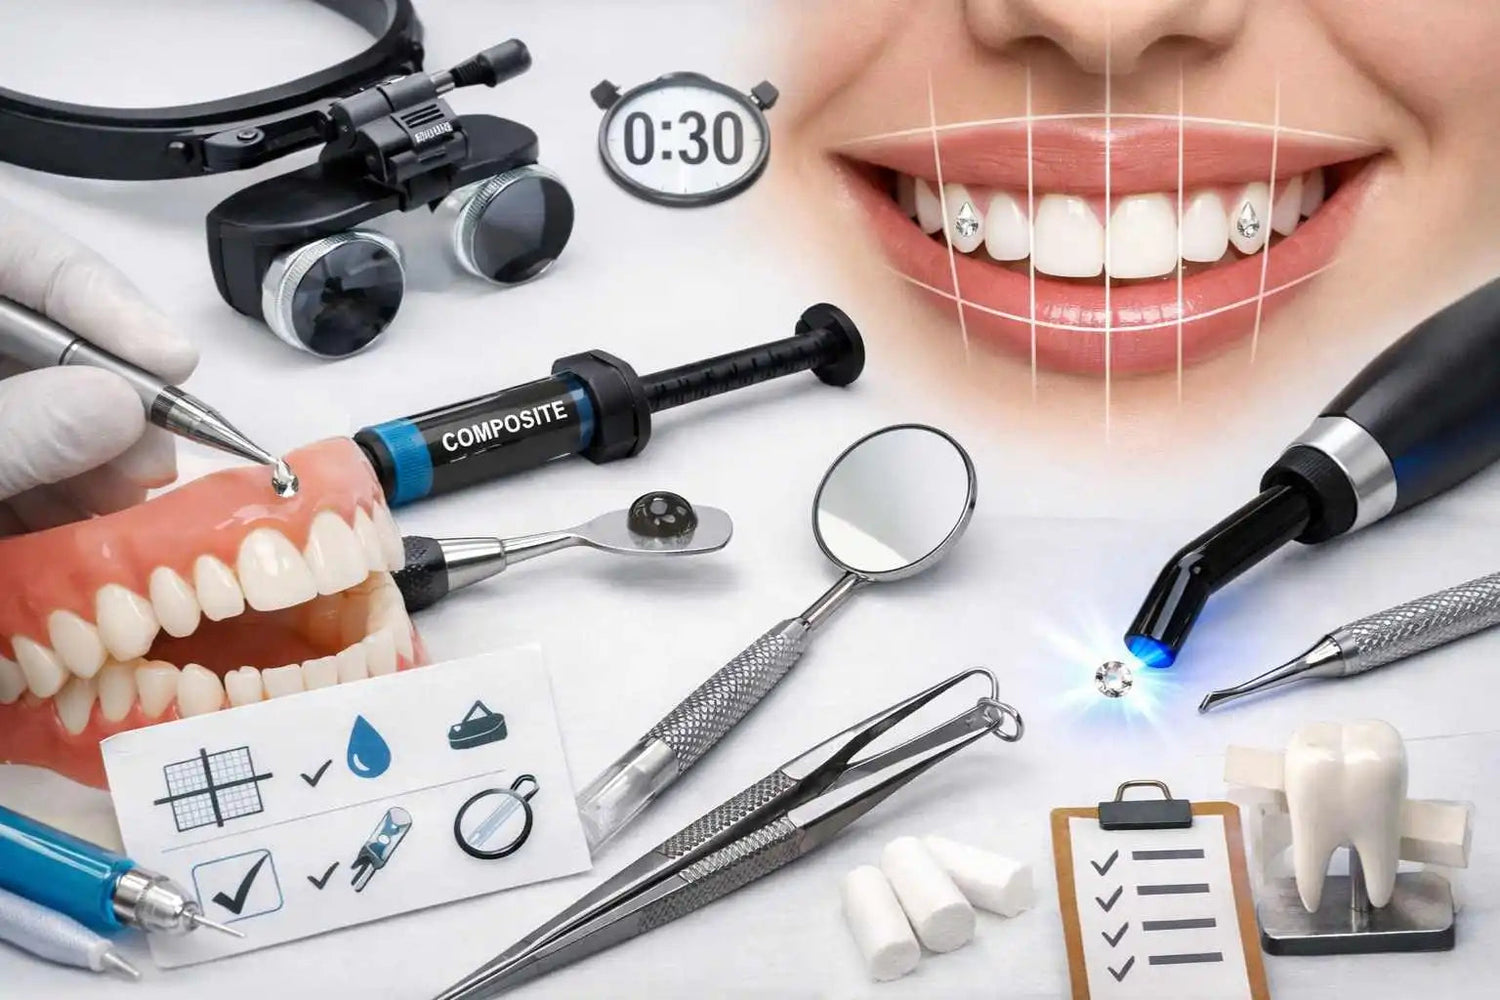
Quick answer: successful placement of a dental jewelry relies on simple benchmarks: axis of the tooth, height, distance from the edge, size of the jewelry and control from the front and side. Regular placement is not a question of luck, but of method.
Why placement is decisive
A well-chosen piece of jewelry can seem less successful if it is poorly placed. Placement influences harmony, comfort, visibility and perception of quality.
Good placement must respect the shape of the tooth and remain consistent with the real smile.
Landmarks to check
- Axis: the jewel must follow the logic of the tooth.
- Height: neither too low nor too close to the edge.
- Distance: keep a comfortable margin.
- Symmetry: check from the front and side.
- Readability: the design must be understood quickly.
Avoid approximate placements
Frequent errors often come from placement “by feeling”, a jewel that is too large, an area too exposed to friction or a lack of final control.
For a cleaner result, it is better to choose fewer elements but position them better.
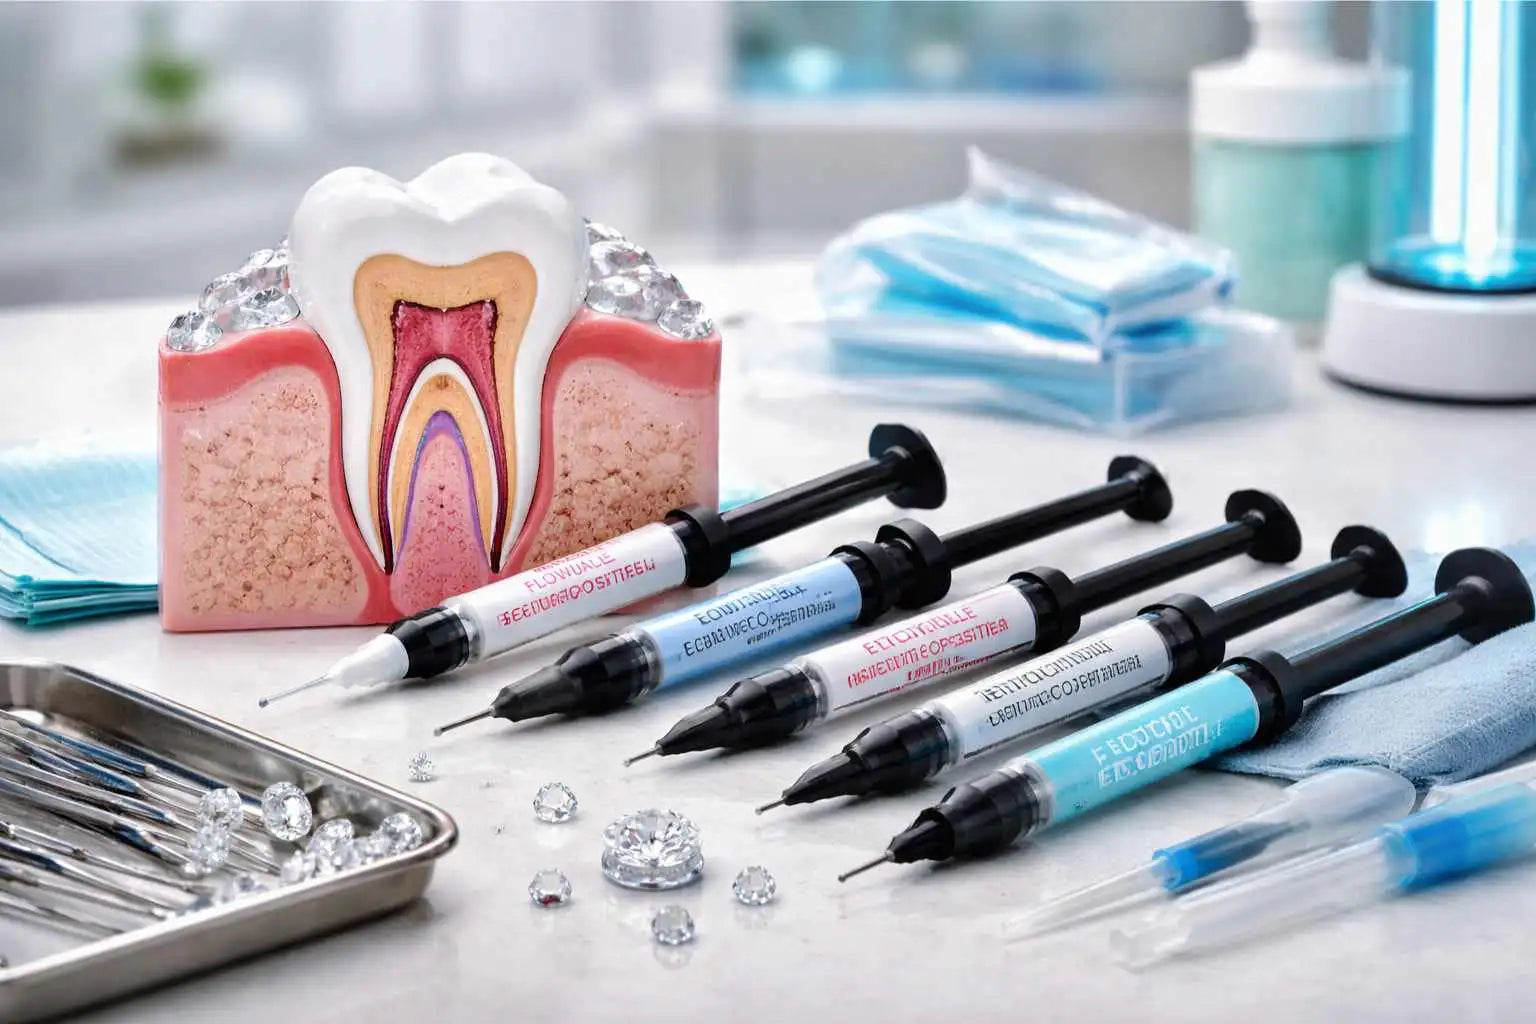
Before bonding, fitting sticks help preview sizes, shapes and compositions near the smile.
Useful links
Conclusion
The precision of placement transforms a simple installation into a neat result. The best designs are often those that appear obvious, balanced and fit the tooth.
To learn more about “Precision and placement: successful placement of dental jewelry”: the references below complete the article with a concrete decision-making method, without replacing the instructions specific to each product or the advice of a qualified professional.
Transforming advice into repeatable workflow
A regular result depends on stable preparation: materials arranged in order, work surface cleared, visual inspection before installation and customer instructions prepared in advance. Standardizing these steps reduces forgetfulness without eliminating the adaptation necessary for each smile.
Operational checklist
- Prepare jewelry, consumables and tools before the client's arrival.
- Validate the design, size and placement before starting.
- Limit unnecessary handling during the procedure.
- Check the appearance from the front, in profile and when the smile is relaxed.
- Transmit clear and realistic maintenance instructions.
After each service, note the difficulties encountered and the useful adjustments. This short analysis makes it possible to gradually improve the position, the messages and the precision of the gesture without accelerating at the expense of quality.
For this page dedicated to Precision and placement: successful dental jewelry placement, always take the time to compare the information on the sheet, the context of use and the precautions announced. A suitable decision is based on verifiable criteria rather than on a general promise or an isolated image.

Leave a comment
This site is protected by hCaptcha and the hCaptcha Privacy Policy and Terms of Service apply.