
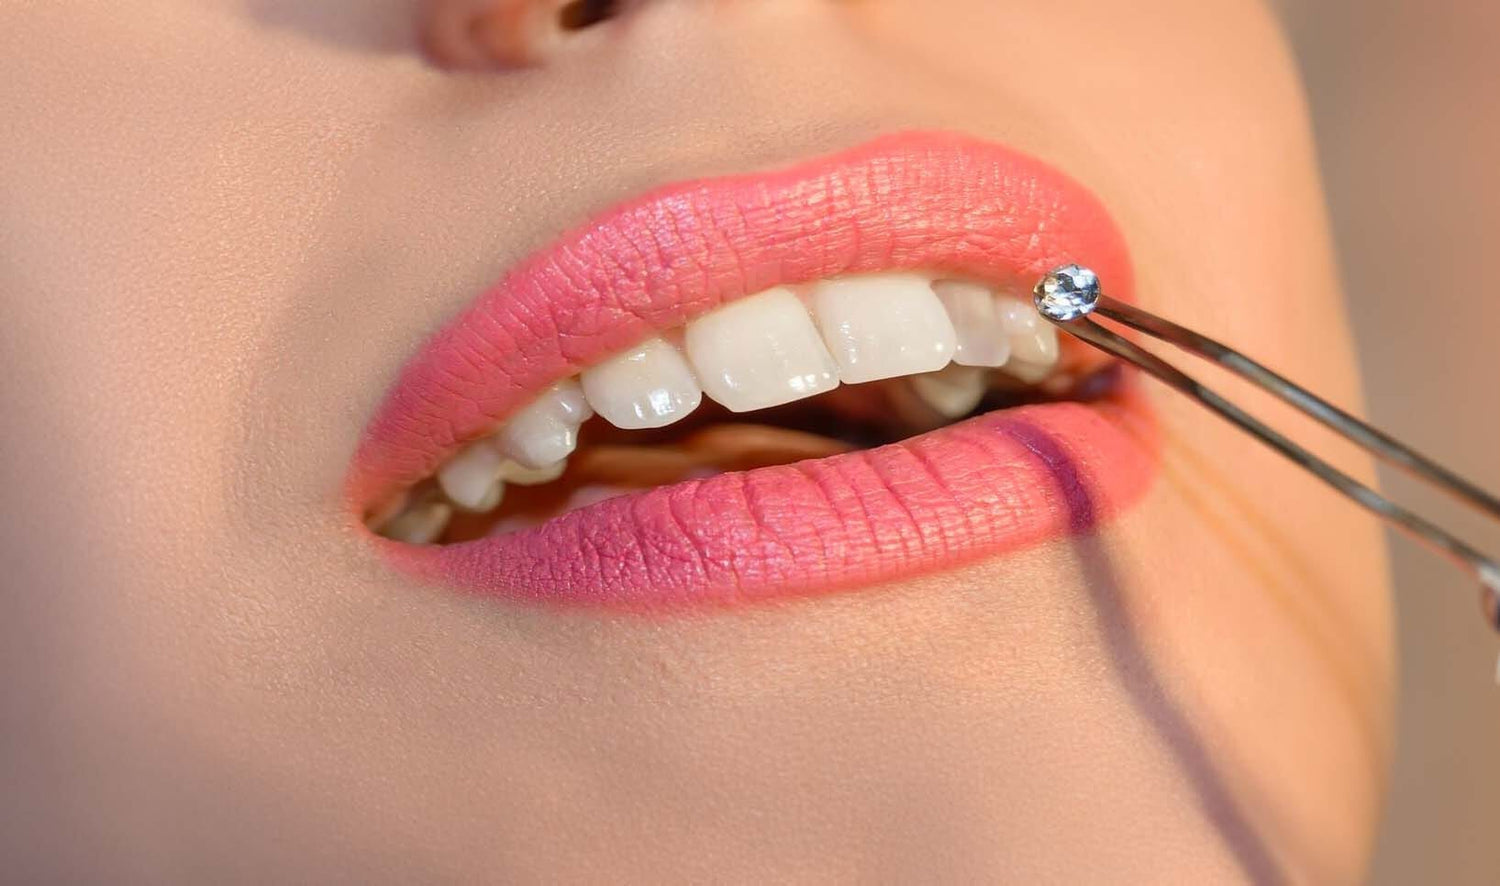
In short: applying a tooth gem is not simply a matter of gluing a crystal in place. First check that the tooth and gum show no apparent problem, choose a suitable gem and position, prepare a clean workstation, follow the product instructions exactly, and explain aftercare and removal.
This page provides an overview of the process. It does not replace hands-on training, manufacturers’ instructions or an examination by a dentist.
1. Check the situation before starting
Application should be postponed if there is pain, unexplained sensitivity, suspected decay, damaged enamel, irritated gums or an appliance that may interfere with the gem. When in doubt, ask a dentist for advice.
Before any application, use the pre-application safety checklist to review the essentials.
2. Choose the gem and its position
The size, shape and profile should be proportionate to the tooth. A gem positioned too close to the edge, gum or a contact area may be more exposed to friction and make cleaning more difficult.
- Start with a simple design when learning.
- View the smile from the front and side before confirming placement.
- Avoid a position that interferes with closing the mouth or causes awkward contact with the lip.
Browse the tooth gem collection to compare sizes and styles before choosing.
3. Prepare a well-organised workstation
Identify and prepare all equipment before starting to reduce unnecessary handling. Products are not interchangeable: nail glue, super glue and household adhesives do not belong in the mouth.
The application equipment guide explains the role of each product family without confusing equipment selection with the application protocol.
4. Understand the sequence without improvising
- Prepare: organize the workstation and check the gem, consumables and curing light.
- Clean and isolate: work on a clean surface and control moisture according to the protocol being followed.
- Apply the products: follow the order, quantities, timing and precautions specified by each manufacturer.
- Position: place the gem precisely without repeated adjustments.
- Cure and inspect: follow the light and product instructions, then check stability, comfort and the absence of visible excess.
For structured learning, see the tooth gem application course. Professional rules and permitted scope of practice may differ by country.
5. Explain aftercare and plan for removal
Cleaning around the gem remains essential after application. Avoid playing with it, biting directly on it, scraping it or pulling it off. Pain, persistent sensitivity, gum irritation or a loose gem are reasons to stop handling the area and seek dental advice.
Removal should not be improvised. Read how to remove a tooth gem without damaging enamel.
Frequently asked questions
Can a tooth gem be applied with ordinary glue?
No. Nail adhesives, super glues and household glues are not designed for tooth surfaces or the oral environment.
Is a successful application risk-free?
No. A careful method may reduce some risks, but it cannot remove them. The condition of the tooth, placement and long-term oral hygiene also matter.
When should a dentist be consulted?
Before application if there is any concern about oral health, and afterwards if pain, persistent sensitivity, inflammation or gem mobility occurs.
Key takeaway
A smoother application begins with clearer preparation: check, choose, organize, follow instructions, inspect and inform. For the wider topic, read the complete tooth gem guide.
Tooth Gems World editorial content, updated September 4, 2026. General information only; it does not replace dental diagnosis or treatment.



Leave a comment
This site is protected by hCaptcha and the hCaptcha Privacy Policy and Terms of Service apply.