
Quick answer: a tooth gem application that does not hold well does not always come from a bad jewel. The issue can come from application equipment, its condition, storage or use: poorly positioned lamp, humid area, unsuitable accessories, poorly stored consumables, irregular dosage or no final check. To reduce failures, standardize the workstation, check tools and use products with a stable method.
This guide lists common mistakes with application materials and the habits to adopt to work more cleanly.
Summary
- Blaming the product without analyzing the protocol
- Preparing the workstation too quickly
- Underestimating isolation
- Using the lamp incorrectly
- Neglecting tool maintenance
- Poor consumable management
- Using too much or too little product
- Choosing unsuitable accessories
- Forgetting quality control
- Material checklist
- FAQ
1. Blaming the product without analyzing the protocol
When a jewel does not hold well, the first reaction is often to blame the gem, adhesive or lamp. However, hold depends on a full chain: preparation, humidity, quantity, placement, curing and aftercare.
Before changing products, it is important to check that the method is stable and that the equipment is used correctly.
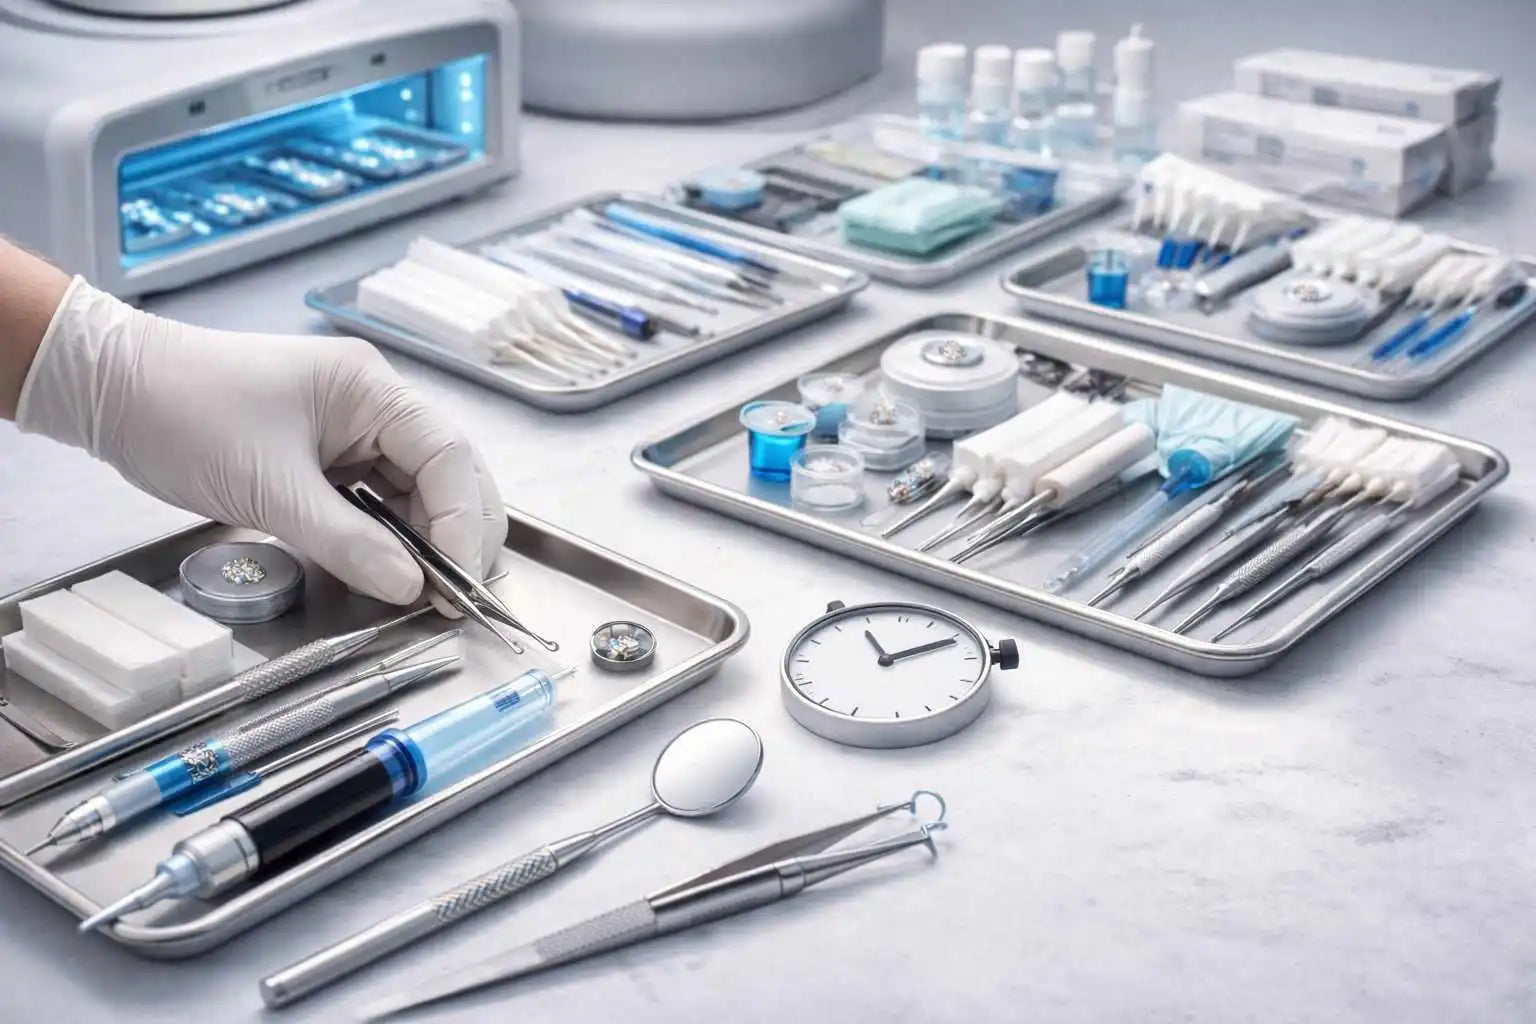
2. Preparing the workstation too quickly
A workstation that looks ready is not always truly ready. Tools should be accessible, consumables organized, the lamp available and the work area clean.
A poorly prepared workstation creates interruptions, increases handling and can reduce precision.
3. Underestimating isolation
Humidity is one of the most common causes of failure. Even with a good product, a poorly isolated area can reduce the jewel’s hold.
Interruptions should be limited, the surface kept as dry as possible and unnecessary handling avoided.
4. Using the lamp incorrectly
A lamp that turns on is not necessarily used correctly. Distance, angle, stability and exposure time should remain consistent.
- Do not hold the lamp too far away.
- Avoid approximate angles.
- Keep the hand stable.
- Respect the duration required by the protocol.
- Check that nothing creates shadow on the area.
5. Neglecting tool maintenance
Application tools should remain clean, organized and in good condition. A dirty tip, worn tool or poorly maintained workstation can affect precision and hygiene.
Regular maintenance also makes it easier to identify the real cause if hold varies.
6. Poor consumable management
Consumables should be stored correctly, protected from heat, humidity and contamination. A poorly stored or long-opened product can become less reliable.
Good management relies on simple rotation, clear storage and regular checks.
7. Using too much or too little product
Dosage affects the final result. Too much product can create visible excess, while too little can reduce jewel stability.
The best approach is to work with a small, controlled and repeatable quantity.
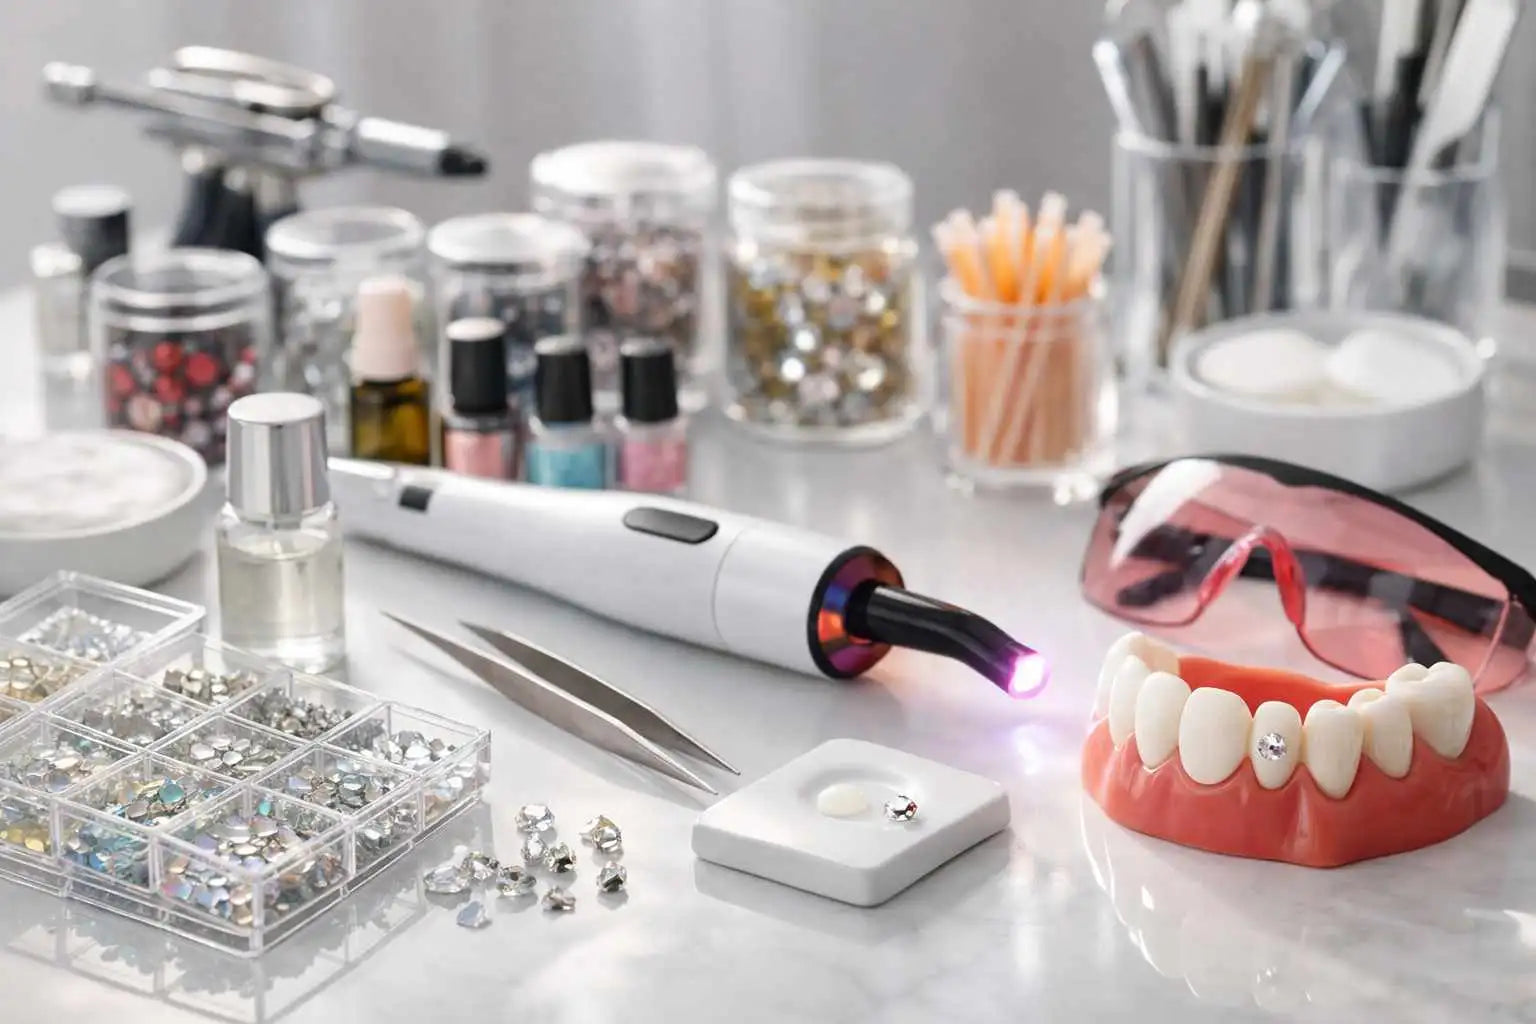
8. Choosing unsuitable accessories
Accessories should match the gem size and intended gesture. A tool that lacks precision can cause drops, repositioning and extra handling.
The fewer unnecessary manipulations, the smoother and cleaner the application.
9. Forgetting quality control
The final check helps identify excess, misalignment, comfort issues or areas to monitor. It should not be optional.
- Check placement.
- Check the jewel edges.
- Confirm comfort.
- Share aftercare advice.
Material checklist
- The workstation is clean and organized.
- Accessories are ready before starting.
- The lamp is available and used at the right distance.
- Consumables are clean and well stored.
- The area is isolated and dry.
- Dosage is controlled.
- The jewel is placed with minimal handling.
- The final check is performed.
- Aftercare advice is shared.
Recommended reading
FAQ
Why does a tooth gem fall off quickly?
Possible causes include humidity, insufficient preparation, poor placement, irregular dosage, incorrect lamp use or insufficient aftercare.
Can the lamp be the issue?
Yes, especially if it is too far away, poorly angled or used unstably. Protocol consistency matters.
Should you change products as soon as an application does not hold?
Not necessarily. First analyze the protocol, isolation, dosage, lamp and aftercare before deciding that the product is responsible.
How can equipment mistakes be avoided?
By preparing the workstation before application, checking tools, storing consumables correctly and keeping a stable routine.
Why is the final check important?
It helps spot poor placement, visible excess or comfort issues before the client leaves.
Conclusion
Application materials are not limited to the products used. They include the workstation, tools, lamp, consumables, method and final check. A clean, stable and well-organized routine reduces mistakes and helps create more consistent applications.
Leave a comment
This site is protected by hCaptcha and the hCaptcha Privacy Policy and Terms of Service apply.