

To photograph a tooth gem with a smartphone, start with soft lighting, focus on the gem and preserve the smile’s actual shade.
A useful photo also shows the gem’s size within the smile, rather than just a sparkle in a close-up.
This guide is for professionals presenting their work and clients who want to understand the images before choosing a gem.
1. Prepare an accurate photo
Ask the person’s permission to take the photo and for the intended uses, such as a portfolio or social media.
Choose a simple background and clean the phone’s lens without touching the gem.
Keep the expression comfortable: a natural smile is enough, without a cheek retractor or any instrument in the mouth.
2. Choose the lighting before the filter
A window with a sheer curtain can be a starting point for diffused lighting.
Avoid combining this light with a very warm yellow lamp, as mixed lighting can alter the colours you see.
If the crystal looks like a white patch, slightly change the angle of the phone or the light and compare the shots.
GIA distinguishes diffused lighting, which helps show colours, from direct lighting, which can emphasise certain reflections.
For an iridescent gem, show several angles rather than presenting a single photo as a guaranteed appearance.
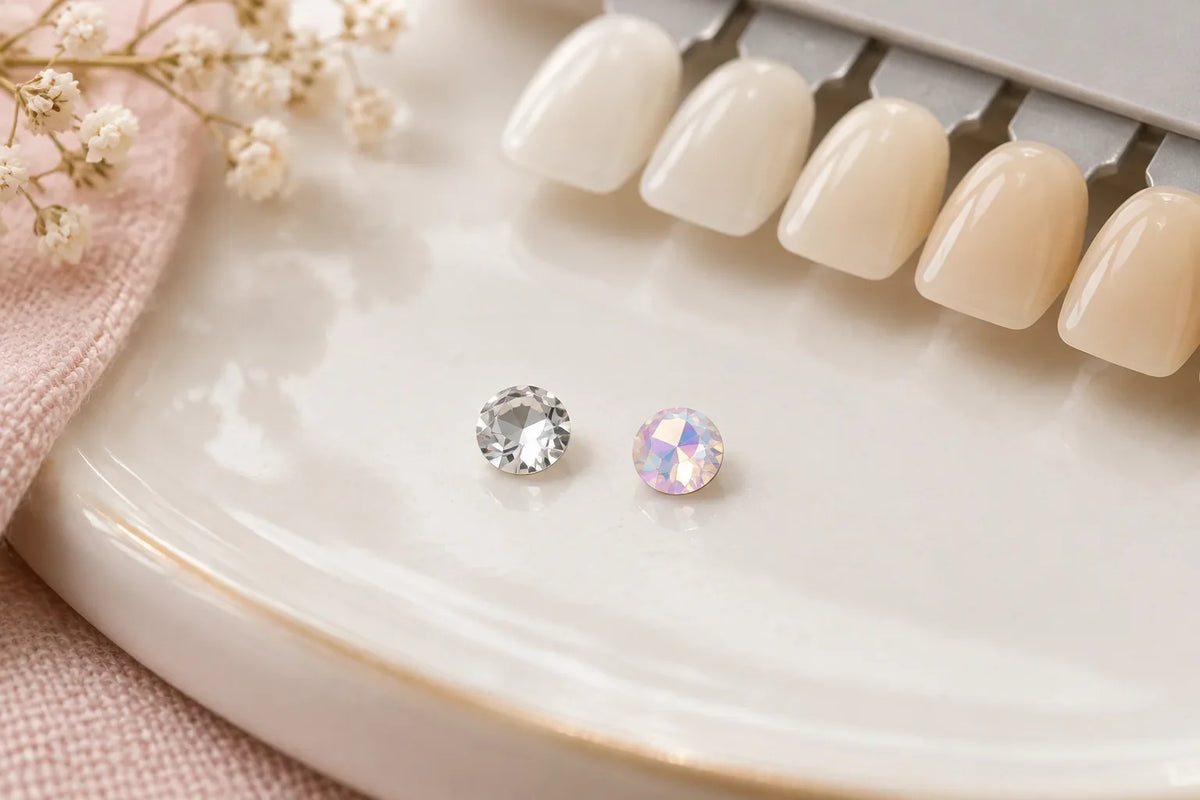
Our Crystal and Crystal AB comparison helps explain this visual difference.
3. Get a sharp image without overdoing the zoom
Tap the gem’s area on the screen to set the focus if your phone allows it, then steady the device.
If the image becomes blurry as you move closer, move back until the image is sharp again.
Macro mode depends on the model: check the manufacturer’s instructions before looking for a specific distance.
Apple explains, in particular, that macro photography is available on supported models and advises moving back if the image becomes blurry.
Then zoom in on the photo to check it: the gem’s edges should remain clearly visible.
4. Plan three complementary views
- A view of the smile to show the composition’s scale and balance.
- A close-up to show the gem’s shape and details.
- A short video with gentle movement to show how the reflections change.
For example, accompany a close-up of a small crystal with a view of the smile taken under the same lighting.
State the gem’s product reference and known dimensions; the tooth gem size guide complements the photo.
5. Edit without transforming the result
Cropping and a modest exposure adjustment can improve clarity.
Avoid filters that whiten the teeth, change the crystal’s colour or add artificial sparkles.
For a before-and-after comparison, keep the lighting, angle and framing as similar as possible.
If you present a design mock-up, clearly identify it as a mock-up and keep it separate from photos of completed work.
Precautions: a beautiful photo does not prove safety
An image cannot diagnose the condition of a tooth or verify the quality of the bond.
The American Dental Association advises against cosmetic tooth jewellery because of risks to oral health.
If the gem moves, pain develops or the gum is irritated, seek a dentist’s advice instead of touching the area for the photo.
These tips concern how images are presented and do not replace a dental examination or the precautions associated with application.
Frequently asked questions
Should you always use flash?
No: start with diffused lighting and compare the results with and without flash, rather than choosing only the brightest shot.
Why does the gem look larger in the photo?
A close-up removes scale references: add a view of the smile and the gem’s dimensions when they are known.
Can you use a mock-up in your catalogue?
Yes, provided you present it as a design proposal and do not pass it off as completed work.
Key points and the next step: preparing the design
Consistent lighting, sharp focus and several views give the reader more useful reference points than a dramatic filter.
To prepare compositions before taking photos, explore Tooth Gems World’s Canva dental jewellery design catalogue: a digital file for visualising design proposals, which should be distinguished from photos of actual tooth gem applications.
Sources and method
Sources consulted on 6 October 2026: the photographic principles are adapted to an external view of the smile, without a clinical photography protocol.
- GIA — How to Photograph Gems & Jewelry, Robert Weldon and Denise Conrad, 30 September 2015: lighting, focus and colour accuracy.
- Apple — Take macro photos and videos with your iPhone camera, online guide with no publication date displayed: macro functionality on supported models.
- American Dental Association — Oral Piercing/Jewelry, page with no publication date displayed: position and oral health risks.
The three suggested views and the presentation guidelines are editorial advice, with no promise of commercial or medical results.

Leave a comment
This site is protected by hCaptcha and the hCaptcha Privacy Policy and Terms of Service apply.