
Quick answer: maintaining tooth gem application materials is essential to keep the practice clean, consistent and more reliable. A poorly organized workstation, dirty tools, poorly stored consumables or a poorly maintained lamp can create application errors, reduce precision and make it harder to diagnose poor hold.
This guide explains how to organize, clean, store and check the equipment used around dental jewelry.
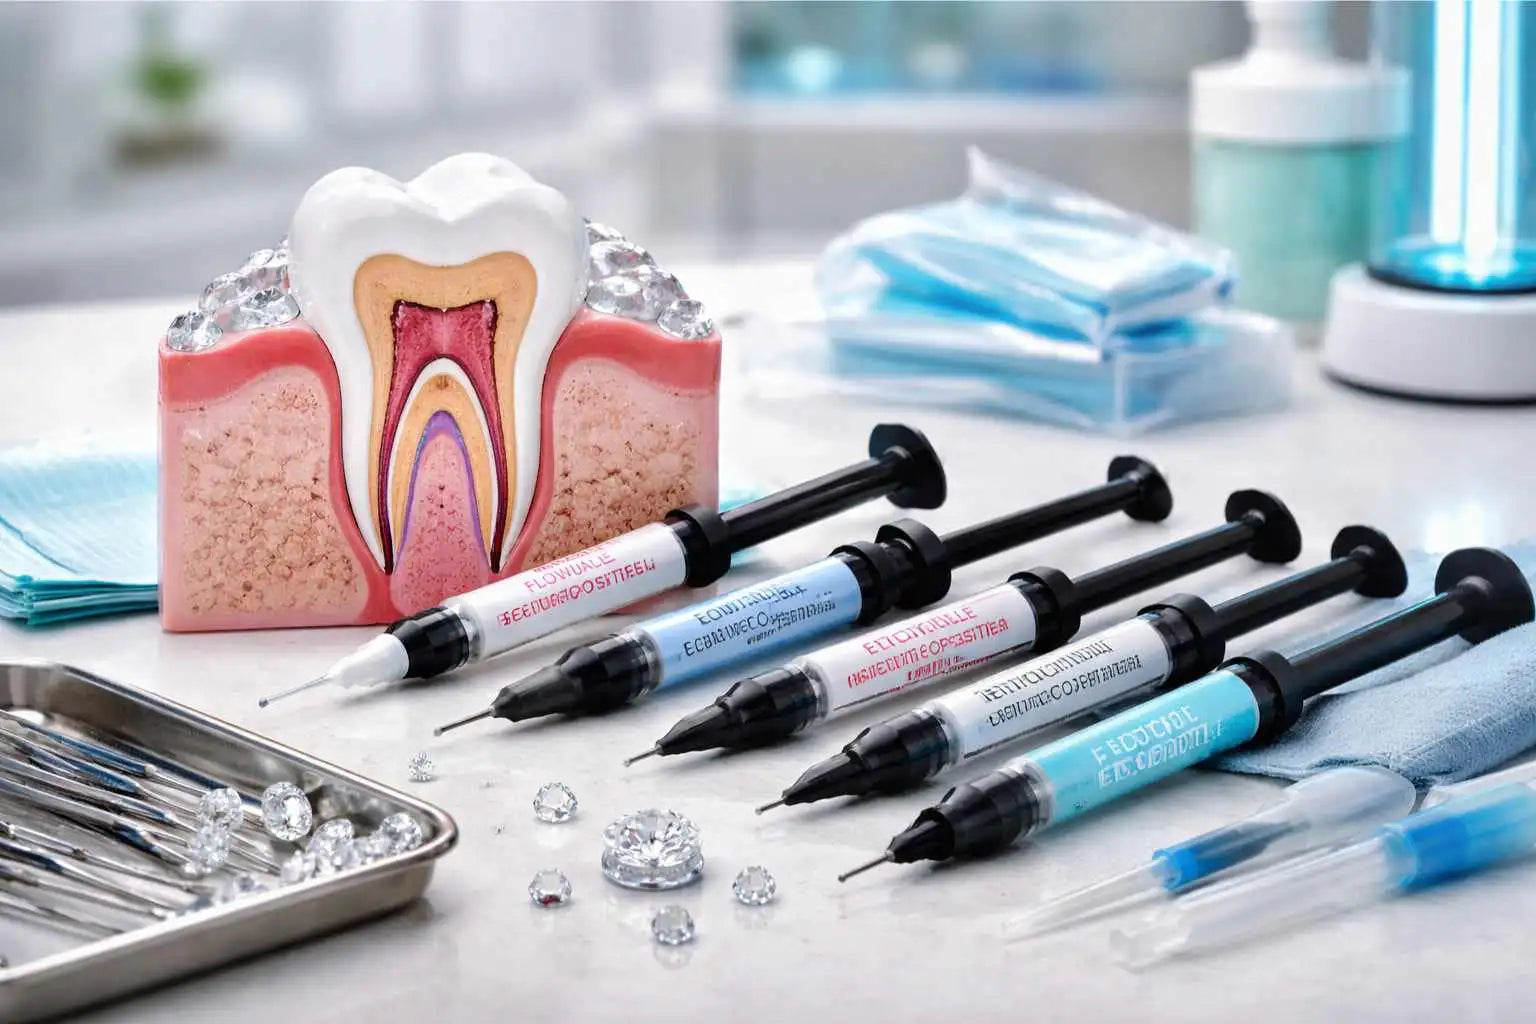
Summary
- Why equipment care matters
- Organizing a clean area
- Cleaning reusable tools
- Managing consumables
- Maintaining the lamp
- Storing application materials
- Check before each session
- Common mistakes
- Hygiene checklist
- FAQ
Why equipment care matters
Application materials influence precision, hygiene and result consistency. A poorly maintained tool can affect jewel handling, a poorly stored consumable can lose reliability and a poorly prepared workstation can multiply interruptions.
Equipment care is therefore not only about looking clean. It also helps work with more method and better identify the origin of a problem if hold varies.
Organizing a clean area
The work area should be clear and organized before starting. Clean items, used items and elements to discard or clean should be clearly separated.
- Prepare accessories before application.
- Avoid cluttering the workstation.
- Keep consumables protected.
- Limit back-and-forth during the session.
Cleaning reusable tools
Reusable tools should be maintained according to their nature and applicable recommendations. A worn, dirty or poorly stored tool can reduce gesture precision.
It is also important to check that the accessories remain suitable for the type of jewel, size and level of detail in the design.
Managing consumables
Consumables should be stored in good conditions: dry, protected from heat and contamination. Avoid opening too many products at once or mixing older and newer items without tracking.
- Check stock regularly.
- Avoid poorly closed containers.
- Separate working stock and reserve stock.
- Replace doubtful consumables.
Maintaining the lamp
If a lamp is used in the protocol, it should be clean, available and checked. A poorly positioned or poorly maintained lamp can affect jewel fixation.
Check the tip, cleanliness, stability and how the lamp is used during application.
A single-use protective sleeve helps limit splashes on the lamp. If the compatible tip is worn or damaged, a replacement light guide tip lets you replace only that part.
Storing application materials
Good storage saves time and reduces mistakes. Regularly used accessories should be easy to access. Jewels should be organized by size, shape or color with a clear logic.
Storage should help work faster without losing quality.
Check before each session
Before starting, a quick check helps avoid omissions:
- The workstation is clean.
- Accessories are ready.
- The lamp is available if needed.
- Consumables are accessible.
- Jewels are organized and identifiable.
- Aftercare advice is ready to share.
Common mistakes
- Preparing the workstation at the last minute.
- Using poorly maintained tools.
- Leaving consumables open too long.
- Mixing clean stock and used materials.
- Not checking the lamp.
- Storing jewels without size or color logic.
- Forgetting the final check after application.
Hygiene checklist
- Prepare the workstation before application.
- Keep consumables protected.
- Check tool condition.
- Store jewels clearly.
- Check the lamp if used.
- Separate clean items from used items.
- Clean and store after each session.
- Replace any doubtful consumable.
Recommended reading
FAQ
Why maintain application materials?
Well-maintained materials help work more cleanly, keep better precision and reduce application mistakes.
Should the lamp be checked regularly?
Yes, especially if it is part of the protocol. Its condition, cleanliness and use influence result consistency.
How should consumables be stored?
They should be kept dry, protected from heat, properly closed and separated from used items.
Why organize jewels by size or color?
Clear storage avoids mistakes, speeds up selection and makes compositions easier to build.
What should be done with a doubtful consumable?
It is better not to use it. A poorly stored consumable can make the result less reliable.
Conclusion
Equipment care is part of the overall quality of tooth gem application. A clean workstation, checked tools, well-stored consumables and clear organization help work with more precision, comfort and consistency.

Leave a comment
This site is protected by hCaptcha and the hCaptcha Privacy Policy and Terms of Service apply.